|
|
How to customize |
|
There are some ways in which you can customize the tree design. The first way concerns to node distribution on the grid, the second concerns to label formatting.
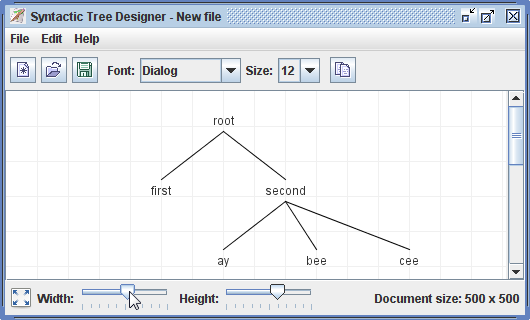
To make the nodes more close or apart from each other you may move freely each node on the grid. But the best way to adjust the gap spaces is by resizing the grid cell's dimension. To do this, just scroll the sliders that are placed on the bottom of the window, as illustrated by the following picture.
The change of the grid cell's dimension does not cause change of the document's size where your tree is drawn. Even though the document size is irrelevant to the image exportation process, it's important because it defines where you can place your tree nodes. To change the document size, click on "edit" in the main menu, and then "resize document". A prompt dialog allows you to change the width and height of the document, as illustrates the image bellow. Note that a huge document may cause a poor performance of execution.

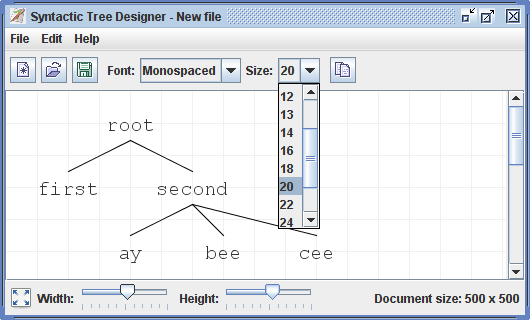
To change the label text format, you may choose a global font face and size at the top panel of the window. All node's labels share the same rendering font, as illustrated bellow.
To edit a specific label text, you must double-click on a node or left-click on it and then select "edit label". A dialog will appear with a simple text editor to richly format your text, as exemplified bellow.

You may type any kind of text as the node's label, even multiline texts. The options of edition include text justification (in case of multiple lines), bold and italic faces, underscore, subscript and face color. It may be useful to remember the following hotkeys:
To change the face color, click on the paint button and then select one color. The colors chosen by you will be recorded on the color dialog's left panel, so you may use the same color when editing other labels.

| Copyright(C) 2008 by Daniel Donadon |